
Guides: lay it, look after it, know what's covered

Everything you need to lay it, look after it and know what's covered. Read it here or download the PDF for the installer.
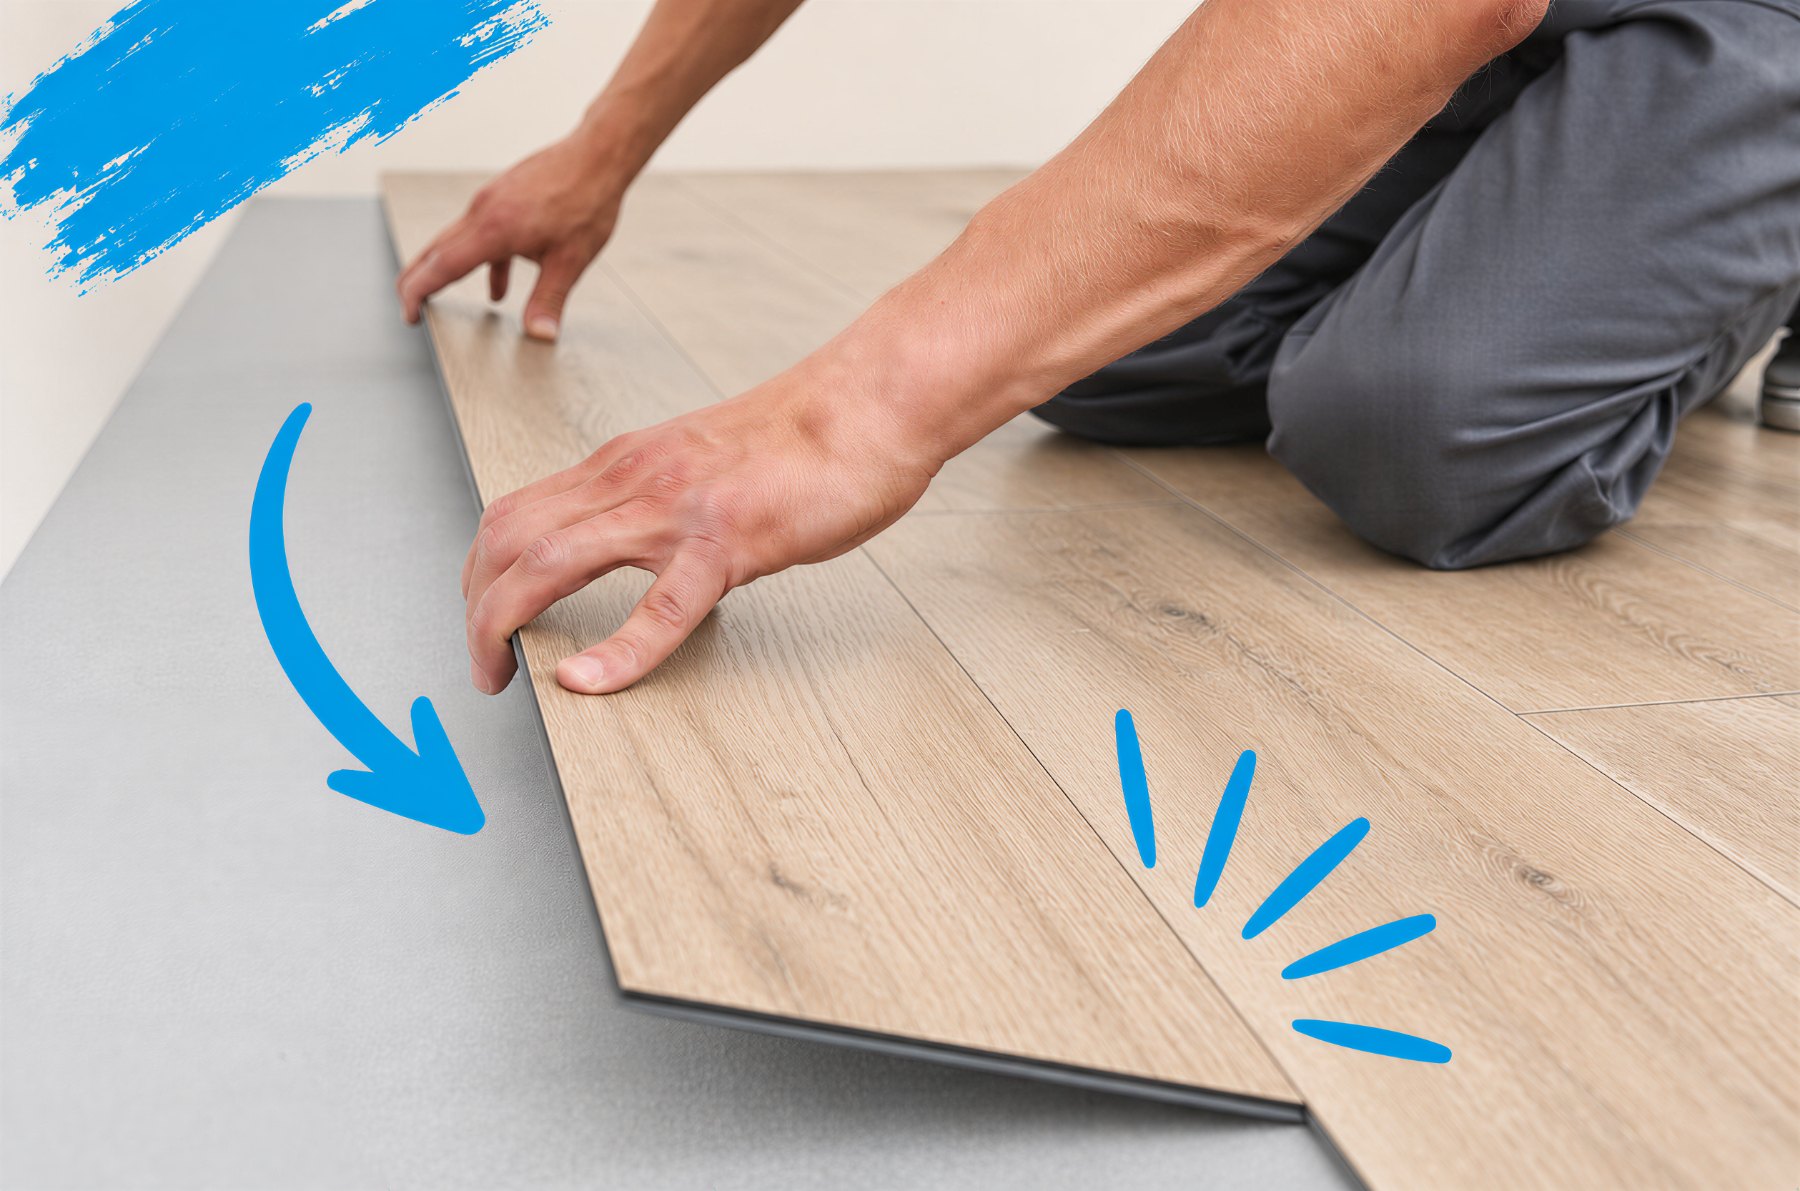
Hands fitting a Floorious click plank
01

Installation manuals

Floors

Click floors

Original, Hush, Matte XL and Matte XXL. Floating installation, no glue, no nails.

Covers Original, Hush, Matte XL and Matte XXLDownload PDF → 0.3 MB
Floors

Glue-down floors

Floorious Glue-Down. Adhesive choice, open times, rolling and the first 24 hours.

Covers Glue-DownDownload PDF → 0.3 MB
Walls

Wall panels

Tiles and XL panels. Score and snap, glue, straight over existing tiles.

Covers Wall tiles and Wall panels XLDownload PDF → 0.6 MB
Quick reference · Floors

Installation dos & don'ts

Key points from the click-floor manual. A quick reference, not a replacement for the full guide. Improper installation voids the warranty.

✓Do
  • ✓Leave a 10 mm expansion gap at all walls and fixtures (pillars, stairs, pipes).
  • ✓Acclimate planks 24 hours in unopened packs; keep the room at 20–25 °C before and during install.
  • ✓Check the subfloor is flat within 5 mm over 3 m and structurally sound (no movement).
  • ✓On concrete: it must be dry and have a 0.15 mm poly-film moisture barrier; subfloor cured 60+ days, pH ≤ 9.
  • ✓Stagger end joints at least 20 cm; keep first/last row ≥ 50 mm wide; avoid end pieces under 30 cm.
  • ✓Inspect every plank in daylight before installing — no surface-defect claims after installation.
  • ✓Order 5–10% extra for cutting; work from 2–3 cartons and mix planks.
  • ✓Use a tapping block and rubber mallet so joints close with no gaps.
  • ✓Use transition mouldings at doorways and floor transitions, leaving a 10 mm gap.
  • ✓Use expansion mouldings for areas over 100 m² or lengths over 10 m.
✕Don't
  • ✕Don't add underlay on planks with a pre-attached pad (voids warranty).
  • ✕Don't nail, glue or fasten a click floor — it must float freely.
  • ✕Don't fill expansion gaps with silicone (except the wet-area method in the guide).
  • ✕Don't install over carpet, cushion-backed vinyl, floating floors, or wood over concrete.
  • ✕Don't install in wet areas with running water or drains (pools, showers) — not warranted.
  • ✕Don't install in doorways or transitions without a transition moulding.
  • ✕Don't expose the finished floor below 10 °C or above 50 °C.
  • ✕Don't use kerosene or portable heaters to condition the room.
  • ✕Don't subject the floor to heavy rolling loads or motorised wheelchairs.
  • ✕Don't drag heavy objects, or use stiletto heels / unprotected furniture legs.
✓Do
  • ✓Inspect every panel in daylight before installing — no surface-defect claims after installation.
  • ✓Keep the room at 20–25 °C before and during install; store cartons flat, never on edge.
  • ✓Check the wall is flat within 2 mm over 1 m, plumb and square, and clean of dust, grease, paint and wax; fill and level grout lines.
  • ✓Do a dry layout first; shift the layout half a tile so you avoid small pieces at the perimeter.
  • ✓Start bottom left with the groove facing up and out; set the first row to a ledger board or level line and let it cure before continuing.
  • ✓Use an MS-polymer adhesive for your wall panels: a 6 mm zigzag bead plus a perimeter bead 25 mm from the edges; always bond-test first.
  • ✓Damp areas (bathrooms, laundries, splashbacks — not in the shower): seal every joint, cut edge, corner and the whole perimeter with a 3 mm bead of 100% silicone.
  • ✓Wet areas (showers, around baths): waterproof the wall first with a waterproofing membrane or board, spread adhesive fully, and seal all joints, trims and the shower or bath edge.
  • ✓Wipe excess adhesive while it's still wet with denatured alcohol on a clean cloth.
  • ✓Remove old silicone joints before you start; finish corners and edges with V-, U- or L-trims glued to the wall.
  • ✓Fix heavy accessories (hooks, mirrors, lights) through the panel into the wall behind, with extra support.
✕Don't
  • ✕Don't install outdoors, or on raw concrete, poured concrete or concrete block basement walls.
  • ✕Don't use portable heaters to condition the room.
  • ✕Don't expose finished panels below −10 °C or above 60 °C.
  • ✕Don't prepare the wall with petroleum, solvent or citrus-oil products — they weaken the bond and void the warranty.
  • ✕Don't skip adhesion testing — if you're not satisfied with the bond, don't install.
  • ✕Don't pour alcohol directly onto the panel, let adhesive residue dry, or use detergents to remove it.
  • ✕Don't install the XL 900 × 2600 mm format horizontally — vertical only.
  • ✕Don't attach hooks, mirrors or light fittings directly to the panels.
  • ✕Don't rely on the panels alone for waterproofing — unsealed joints are the installer's responsibility.
  • ✕Don't clean with abrasives, solvents or chloride-based products — a damp cloth is usually enough.
02

Maintenance guides

Floors

Looking after your floor

Daily, weekly and the once-a-year. What to use, what to avoid, and what to put under the furniture.

Covers All five flooring collections
Download PDF → 0.1 MB
03

Warranties

Residential

Residential warranties

Homes and private use

Light commercial

Light commercial warranties

Offices, shops, hospitality with light traffic

Warranties apply to floors and panels installed as per the manuals above. Keep your proof of purchase and photos of the installed floor.

Talk to us

Tell us about the room. We'll take it from there.

A question, a project, a floor you can't decide on. Send it over and a real person gets back to you within one working day.

I am a
We only use this to answer you. No newsletter unless you ask.